How to Add Live Chat Support to Your Website
Team ChatSupport
May 11, 2022
Did you know that 75% of today’s customers prefer live chat support to any other channel of communication? What’s more, 44% of online shoppers say that receiving live human support during an online purchase is among a website’s most important features.
With eye-opening statistics like this, you’re probably wondering why you haven’t added chat support to your website already. Since you’ve gone out of your way to find out how, here’s the guidance your business needs to start taking advantage of all the benefits live chat has to offer.

But first… select your chat software
Before you get around to adding your software of choice to your website, you need to select the provider that best meets your needs. There are many options available, each offering its own features, functionality, and additional services.
It’s important to first establish your key business requirements and objectives, before settling on the best chat software for you.
For the purposes of this article, we’ll explain how to add a live chat widget to your website using (surprise, surprise) ChatSupport.

Install your live chat widget in 5 easy steps
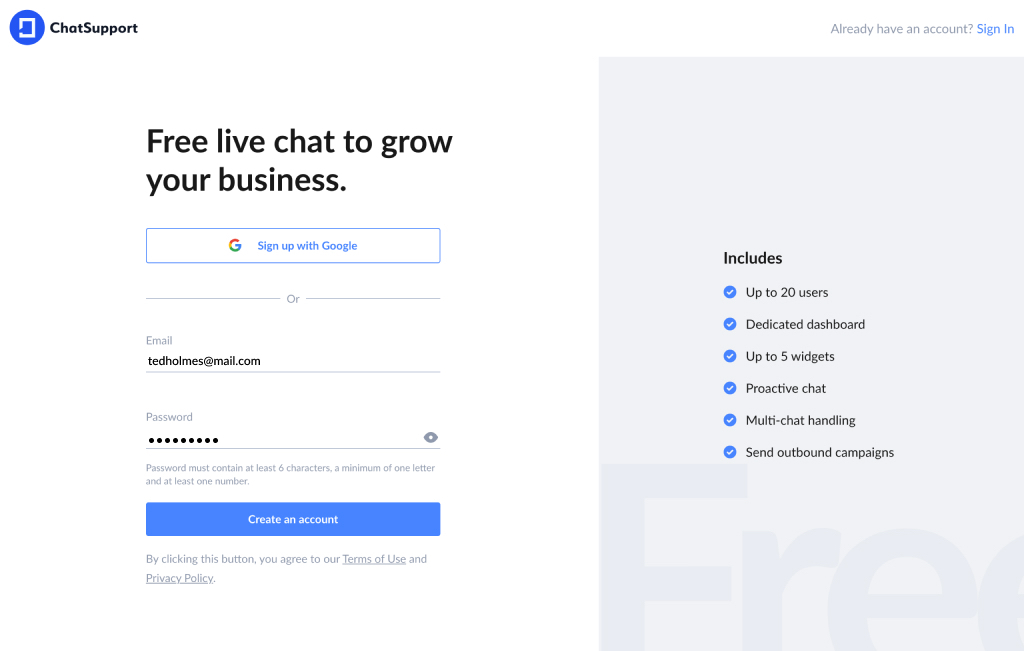
#1 Create An Account
Your first step is to create an account. ChatSupport is completely free, so you won’t even need to bring out your credit card. As an account owner, you also get full control over adding team members to your dashboard according to your requirements.
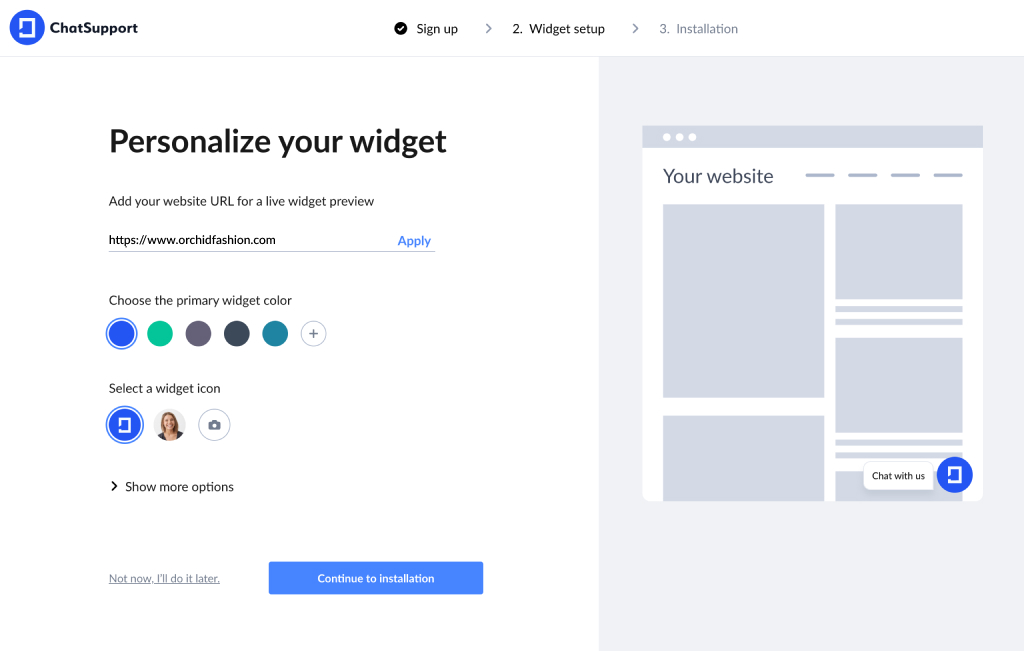
#2 Go to your widget settings
Once you’ve entered your credentials and logged into your account, go to Settings (the gear icon located on the left-hand side of your dashboard), and click Manage Widgets.
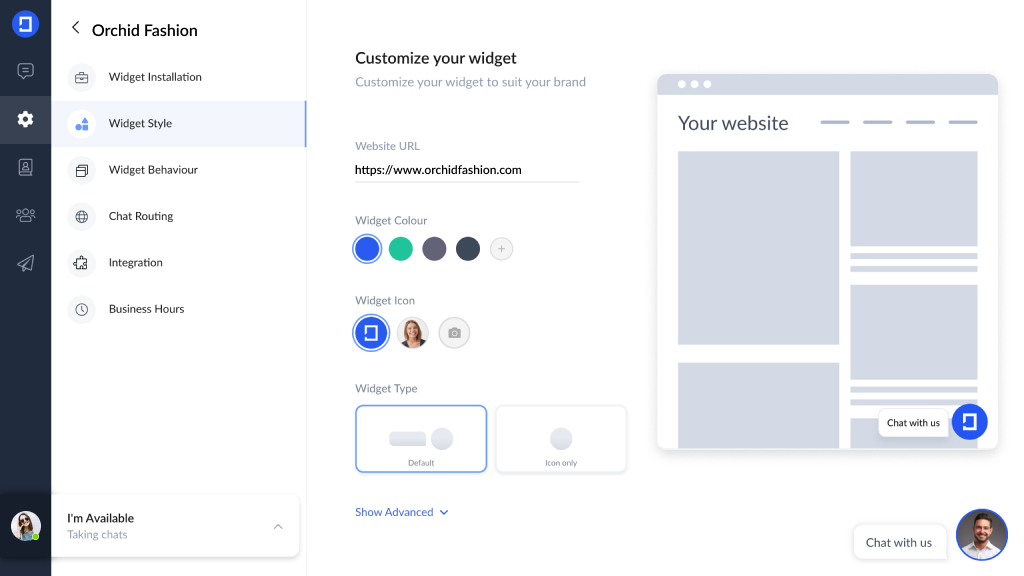
#3 Select the relevant widget
When you click Manage Widgets, you will land on a screen displaying your chat widgets. Choose the relevant one to ensure that you capture the right code to add to your website.
There are three options to choose from:
- Chat widget – instantly notifies an agent of an incoming chat request once a user clicks on the widget.
- Proactive chat widget – automatically opens the chat widget so that a visitor can engage with the support team. An agent is notified of the incoming chat request as soon as the user begins typing.
- Lead capture widget – enables website visitors to submit contact information such as a name and email address for contact later. It is designed to facilitate conversions and drive business growth.
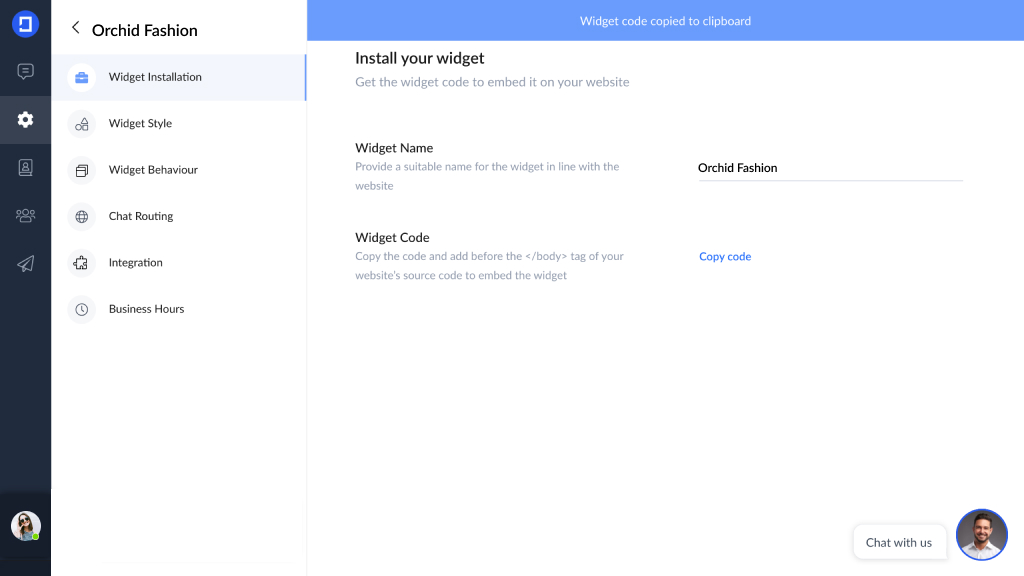
#4 Copy the widget code under widget installation
At this stage, you will be presented with a screen that enables you to adjust different widget settings like the behavior and style. Here, you simply need to go to the Widget Installation option, and then click Copy code at the bottom. This will copy the widget code to your clipboard so that you can easily add it to your website in the next step.
#5 Add the widget code to your site’s source code
Now all that’s left to do is add the widget code in the back end of your website. To do this, simply paste the code before the </body> tag of your website’s source code.
That’s all she wrote – installation complete!
And voila! Just like that, you’ve embedded the live chat widget into your website. It couldn’t be any easier!
With your live chat support now firmly in place, you may be wondering how to get more potential customers to your website. If so, we have even more good news! Check out our guide on how to get more leads online. This will put you in a strong position to leverage the full benefits of your latest software addition.
For additional guidance on adding live chat to your website, don’t hesitate to get in touch with our friendly support team.
Like this article? Spread the word.